A lot can be taken from this quote. Often our horses carry far more than just our weight; they carry our financial worries, relationship problems, stress from work, previous experiences, and your sore hip... But maybe we will save that one for another day.
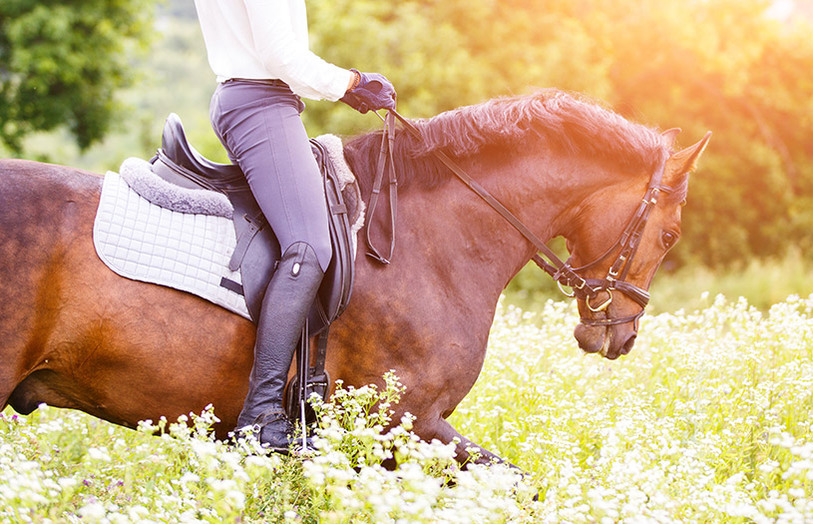
Today, I want to talk about how improving your leg stability in the saddle is a huge step towards learning to be a good load to carry, and how you can achieve that.
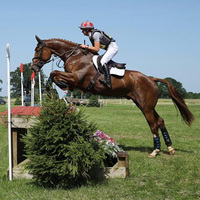
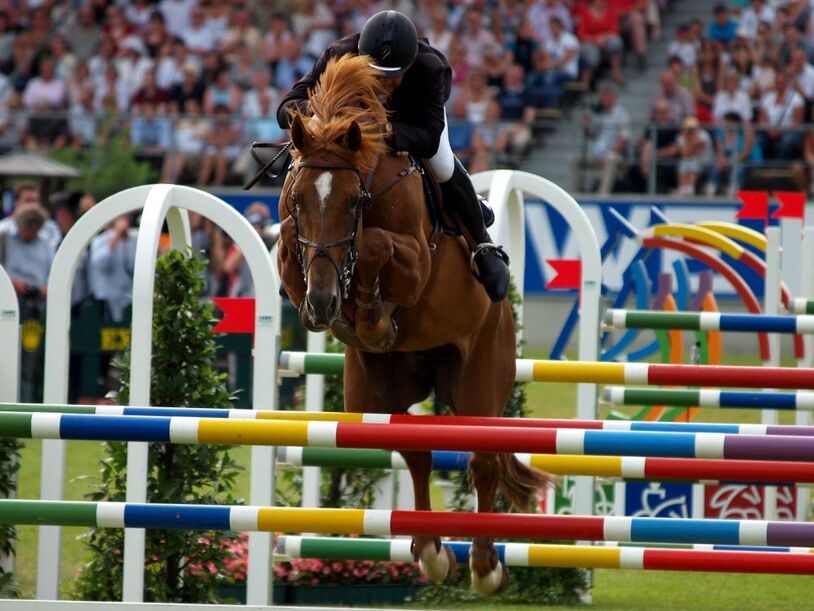
By improving your stability in the saddle, you will not only be putting yourself in a position where you can be a much more elegant and effective rider, but it will also improve your confidence and safety in the saddle. Once you have built a stable and secure leg position, it will give you an added layer of confidence knowing that, should your horse spook/spin/buck or even rear, you will remain in a safe position, giving you the best chance of sitting to any antics.
So, here are a few simple exercises you can include in your training, both on and off the horse, to help you build a stable leg position.
‘Off The Horse’ Exercises
Firstly, I always think it's best to build some good, strong foundations off the horse – safety first! So start with these exercises that can be done from the comfort of your own home. They do require a resistance band, but don’t worry if you don’t own one, a tail bandage tied in a loop works just as well… Make sure it's a clean one though!
Banded Clams
There are a couple of ways to perform this exercise; you can either do them lying on your side, sitting on the floor, or sitting on a chair if getting down to the floor is an issue.
- Start by stepping into the resistance band and place it just above your knees.
- Now choose your position; Lying on your side with knees and feet stacked on top of each other, or sitting on your bottom with knees up and feet together, or sitting on a chair with feet placed together.
- Then, keeping your feet together, simply open your knees away from each other and push against the resistance of the band. Hold for a second. (If you are lying on your side, just open the top knee up towards the ceiling).
- Then slowly bring your knees back together, and repeat.
This exercise will target your outer hip and glute muscles.
Crab Walk
Again, this can be performed in 2 different ways; either place the resistance band just above the knees or loop it around your feet – if your resistance band is a heavy duty one, I would recommend placing it above the knees.
- Start with the band in either position and take up a squat position – the lower the better.
- Remaining in this position for the entire exercise, take small steps to the left while maintaining the resistance in the band (aim for 8 steps to the left, but if you don't have enough room, that's ok, you can make up for this by doing extra reps).
- Now, whilst still maintaining the squat position, take 8 steps back to the right.
- Repeat for around 6-8 reps (or until the burn in your outer thighs and quads gets too much!)
In order to get the full benefit of this exercise, it’s important that you remain in the low squat position and keep resistance against the band – plus, ensure your back is straight.
Lying Leg Raises
This exercise can be performed using bodyweight alone, a resistance band or added weights. I'd suggest you try bodyweight first, and then once you’re comfortable with the exercise, add either weights or a resistance band.
- Begin lying on your side, legs stacked on top of each other and head either flat on the floor, or supported on your hand.
- Now simply raise your top leg up to the ceiling – as high as you can – making sure the leg stays nice and straight. Hold it at the top for a second.
- Slowly lower back down and repeat.
- Aim for 10-12 reps on each side.
Once you’re comfortable with bodyweight alone, you can move on to placing a weight on the thigh of the top leg to add resistance or using a resistance band around both legs, just above the knee.
It's important you don't let your body ‘rock’ throughout this exercise – maintain a straight back and level hips.
Once you have worked on these exercises for a couple of weeks and feel confident with them, it's time to progress to exercises on the horse which can help improve our leg stability.
‘On The Horse’ Exercises
Now, I’m afraid these aren't new or exciting exercises that you have never heard of, but nevertheless they are extremely useful and I believe most riders overlook them! Gone are the days when your instructor would put you on the end of a lunge line and have you ride for an hour with no stirrups or reins! I am not, however, suggesting you do that... just yet anyway!
Take away the stirrups
Riding without stirrups is one of the best exercises we can practice as riders. It naturally puts your leg in the correct position and gives you no choice but to use your leg as we should, whilst also teaching you to ride with your seat and allow the hips to rock and go with the flow of the horse, not against him.
Start in walk at first – even just 10 minutes at the start of your session everyday will make all the difference!
Once you’re comfortable in the walk, progress to trot. Trot is the hardest of the gaits to master, but think about wrapping your leg around the horse, relax the leg, brace the core, sit up tall and most importantly, BREATHE.
Now you can progress to canter. I recommend using a neck strap for balance and to save your horse’s teeth should you lose your balance. If you aren't overly confident, ask a friend to help you and lunge your horse so there is one less thing to worry about and you can really concentrate on your balance and relaxing into your seat.
Once you have mastered all 3 gaits, it's time to mix them up and add in transitions, and transitions within the gait.
I highly recommended taking the stirrups away at the start of every session – 10 minutes a day really will make a difference.
Standing in 2 point position
The last exercise I would like to cover today is standing in the stirrups. It’s a great way to find your balance and really fix your lower leg into a secure position.
Again, start slowly; stand in the 2 point position at a walk and do a few laps of the arena. I'd also suggest using a neck strap for this one in case you do lose your balance. If you don't have the luxury of a mirror, film yourself to ensure your leg is in the correct position. Keep your back flat – it’s very easy to get so fixated on our leg position that we end up rounding our shoulders and tipping forwards. Brace your core to help with balance.
Once you can comfortably do a few minutes in walk without needing the neck strap to balance yourself, progress to trot, and then onto canter.
Then, once you feel you can walk, trot, and canter in this position for 4-5 minutes, it's time to start adding transitions into the sessions. This will test your balance that little bit more.
Your lower leg will need to be strong and ‘glued’ to your horse's side to ensure you remain in harmony with him. It takes practice, but your horse will thank you for it.
For more great tips on equestrian fitness and handy exercises to try, follow Natalie @NMA.Fitness on Facebook and Instagram.